Python 实现开启 tty 的交互式 Kuberntes 容器控制
熟悉 docker 及 kubectl 的同学们,很大概率使用过 -it 的交互方式,效果是通过一个可交互的伪终端来实现对目标容器的控制。
今天介绍一下,如何通过 Python 程序实现类似 kubectl exec -it 的 Kubernetes 容器控制程序。
基本原理
在开始控制 Kubernetes 容器之前,我们首先要了解下伪终端或 pty 的基本概念及原理。
pty 定义
The
ptymodule defines operations for handling the pseudo-terminal concept: starting another process and being able to write to and read from its controlling terminal programmatically.
伪终端就是通过 fork 一个新的进程,并能够通过程序控制从原始控制终端中读取或是写入数据。
新进程的写入 stdin 会重定向到原生终端的写入 stdin,新进程的输出 stdout 及 stderr 读取自于原始控制终端的 stdout 及 stderr。
读取和写入部分看起来特别像是管道的概念,但是不同的就是原始进程是一个 termial,除输入和输出外,
还有窗口大小控制、termial mode(raw, cbreak) 还包括 alternative buffer mode(vim 使用的)这些终端独有的特性。
关于 docker 及 kubectl 来说,当开启了 tty 的容器控制时,实际上都是通过客户端和 HTTP Server 间建立的一个连接来实现的控制及 I/O 管道的数据交换。
更多 Golang 实现细节,可以直接去查看相关的客户端代码实现。
Python 客户端实现
如果你也刚好选用 Python 在实现或者维护了一个 Python 编写的客户端,需要封装实现类似 kubectl exec -it 的效果,
好消息是,Kubernetes 的官方 Python 库(https://github.com/kubernetes-client/python) 就已经支持了这种交互,只是没有明确的使用样例。
我参考 «Pseudo Terminals in Python» 实现了一个开启了 tty 并支持 resize WINDOW 的 Python 客户端实现,有需求的可以看一下,希望有帮助。
show me the code
话不多说,直接上代码:
fork 部分:
    def spawn(self, argv=None):
        """
        Create a spawned process.
        Based on the code for pty.spawn().
        """
        if not argv:
            argv = [os.environ['SHELL']]

        pid, master_fd = pty.fork()
        self.master_fd = master_fd
        if pid == pty.CHILD:
            os.execlp(argv[0], *argv)

        old_handler = signal.signal(signal.SIGWINCH, self._signal_winch)
        try:
            mode = tty.tcgetattr(pty.STDIN_FILENO)
            tty.setraw(pty.STDIN_FILENO)
            restore = 1
        except tty.error:    # This is the same as termios.error
            restore = 0
        self._init_fd()
        try:
            self._copy()
        except (IOError, OSError):
            if restore:
                tty.tcsetattr(pty.STDIN_FILENO, tty.TCSAFLUSH, mode)

        self.k8s_stream.close()
        self.k8s_stream = None
        if self.master_fd:
            os.close(self.master_fd)
            self.master_fd = None
        signal.signal(signal.SIGWINCH, old_handler)
I/O 部分:
    def _copy(self):
        """
        Main select loop. Passes all data to self.master_read() or
               self.stdin_read().
        """
        assert self.k8s_stream is not None
        k8s_stream = self.k8s_stream
        while True:
            try:
                rfds, wfds, xfds = select.select([pty.STDIN_FILENO,
                                                  k8s_stream.sock.sock],
                                                 [], [])
            except select.error as e:
                no = e.errno if six.PY3 else e[0]
                if no == errno.EINTR:
                    continue

            if pty.STDIN_FILENO in rfds:
                data = os.read(pty.STDIN_FILENO, 1024)
                self.stdin_read(data)
            if k8s_stream.sock.sock in rfds:
                # read from k8s_stream
                if k8s_stream.peek_stdout():
                    self.master_read(k8s_stream.read_stdout())
                # error occurs
                if k8s_stream.peek_channel(3):
                    break
resize 部分(佩服 Python 客户端基于 Websocket 实现的多路复用,对接 RESIZE_CHANNEL):
    def _set_pty_size(self):
        """
        Sets the window size of the child pty based on the window size of
               our own controlling terminal.
        """
        packed = fcntl.ioctl(pty.STDOUT_FILENO,
                             termios.TIOCGWINSZ,
                             struct.pack('HHHH', 0, 0, 0, 0))
        rows, cols, h_pixels, v_pixels = struct.unpack('HHHH', packed)
        self.k8s_stream.write_channel(4,
                                      json.dumps({"Height": rows,
                                                  "Width": cols}))
完整代码,请戳这里:https://github.com/kubernetes-client/python/pull/515/
我已经将基于 Kubernetes Python client 实现的 tty 的例子提交到了上面的 PR。
有兴趣的欢迎围观,发现问题还请不吝赐教。
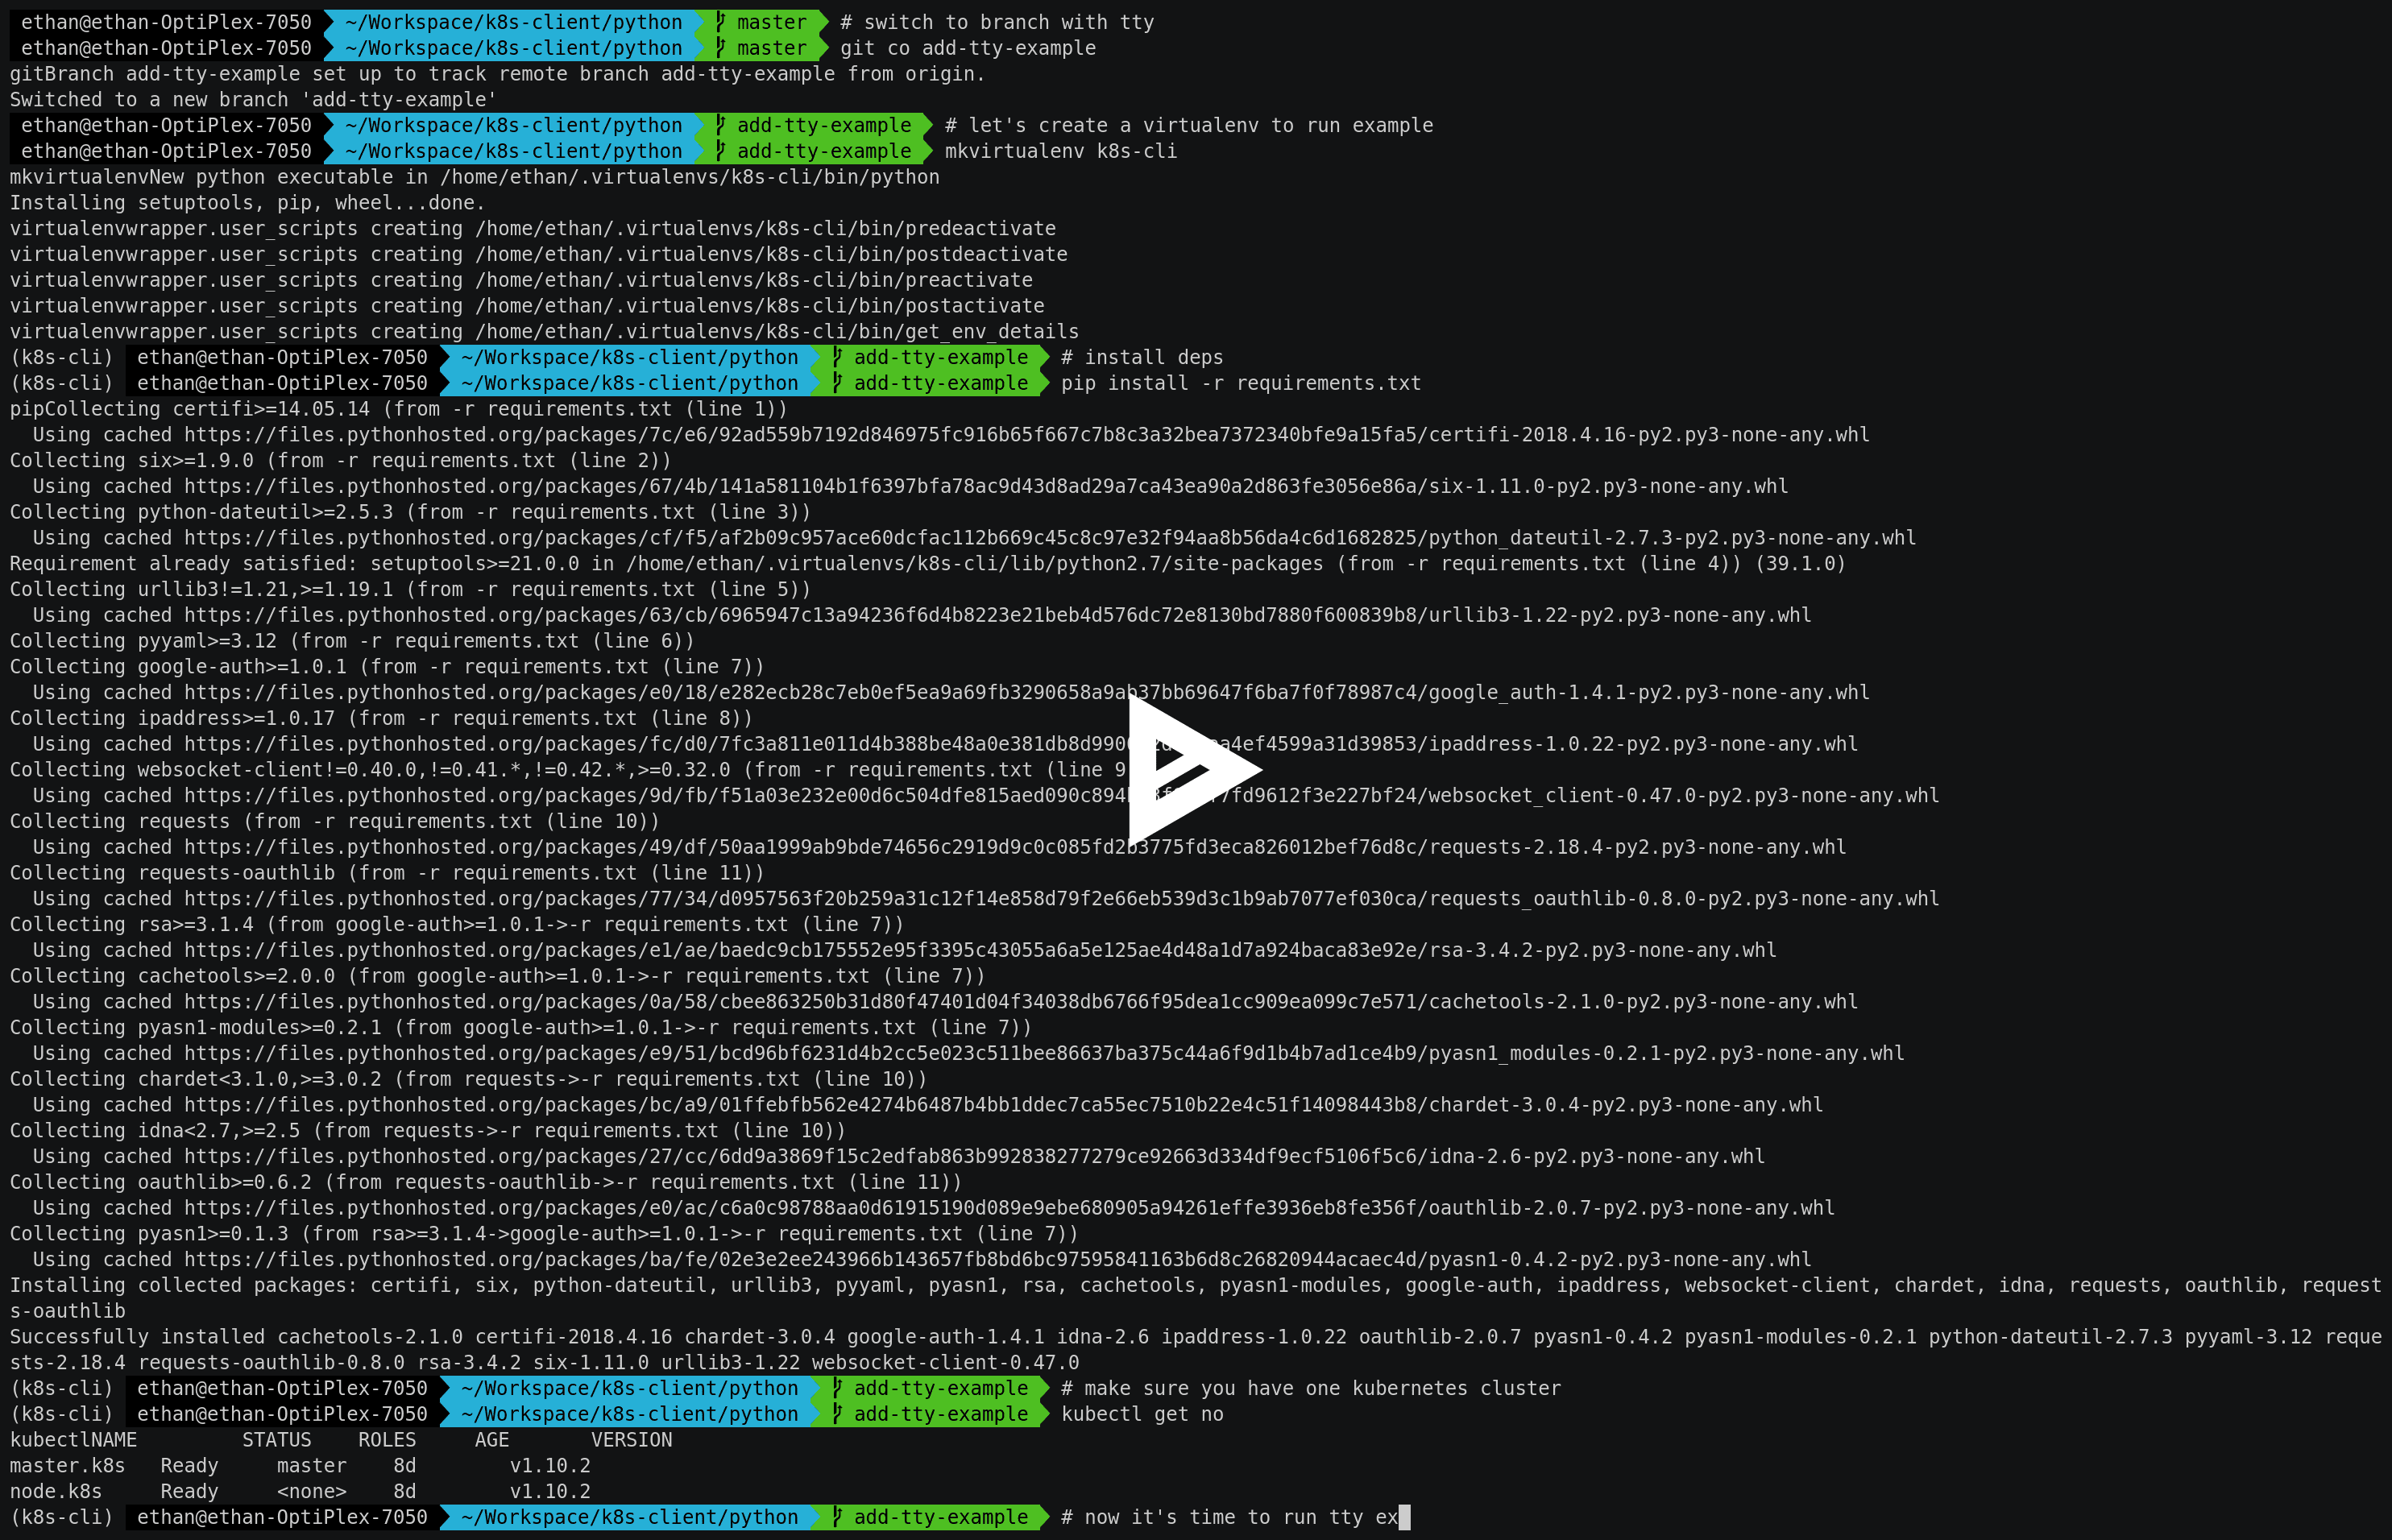
同时,我录制了一个 try out 的上手视频,里边包含了想要查看运行效果的基本步骤, 包括 clone 代码,mkvirtualenv, pip 安装依赖, 运行样例等。

复制并浏览器打开:https://asciinema.org/a/fOznfIWkZcYdEslY1iJs4HeZc
整体效果受限于当时的设备和环境,可能尺寸偏大,不便于查看,望见谅。
另:其中调整窗口尺寸部分 asciinema 好像还不能很好的支持,所以视频中没有体现出效果, 大家亲自尝试的时候,可以通过终端的多行输出看出容器中的
tty尺寸是会随着当前的终端尺寸变化而调整的。
Refs:
- http://sqizit.bartletts.id.au/2011/02/14/pseudo-terminals-in-python/ «Pseudo Terminals in Python»
- https://github.com/python/cpython/blob/master/Lib/pty.py «Pseudo terminal utilities»
- https://github.com/kubernetes-client/python-base/blob/master/stream/ws_client.py «A websocket client with support for channels»